Every few months now, some founder posts a screenshot of Slack’s latest renewal quote and it goes viral. This week’s example is a tweet from Alex Cohen, who runs a 40-person company. Slack’s renewal desk quoted him twenty-one thousand dollars a year to move onto the Business+ tier, up from about six thousand a year on Pro, because a customer contract now requires him to sign a BAA. Same software, same workspace, three-and-a-half times the bill. It’s the kind of quote that makes you read it twice and then go check when your own renewal is up.
That kind of quote is basically the moment every growing company decides it’s done with Slack. Not because the product is bad (Slack is a pretty polished piece of software), but because the pricing is designed to make the decision for you, and the thing you get back when you cancel is a pile of JSON files with dead links to your own attachments. You never really owned your history. You were renting it, on a meter that only goes up.
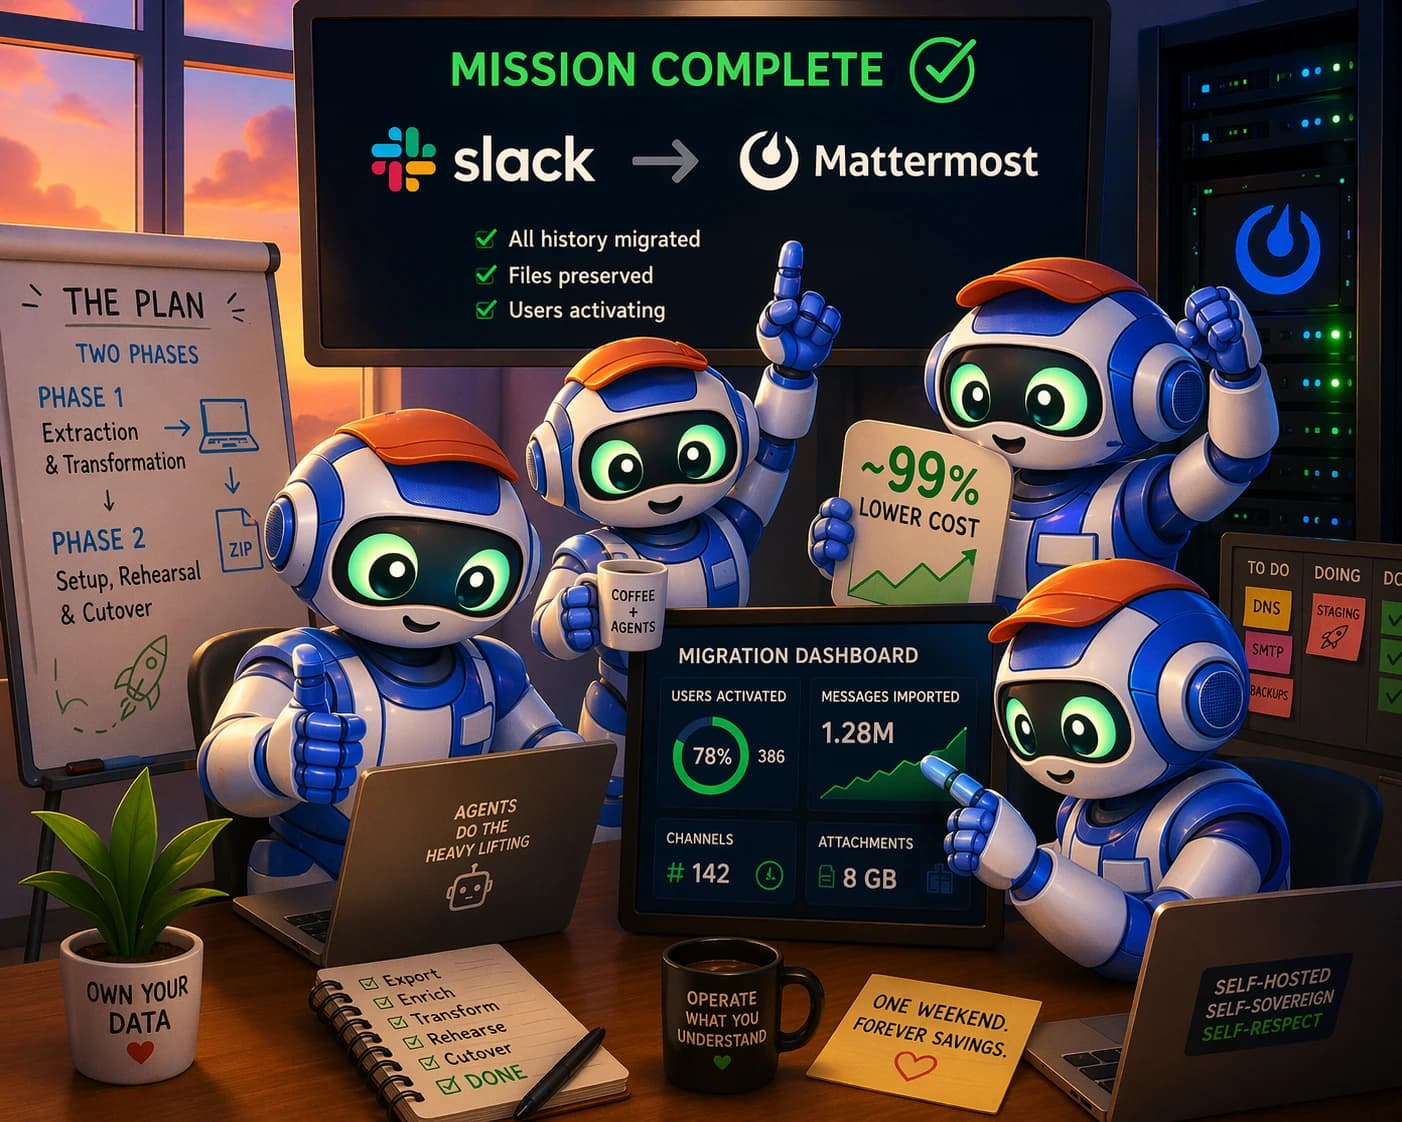
Until very recently, the reason most companies didn’t actually go through with migrating off Slack onto something self-hosted was that the migration itself was a real project. Someone had to write a script, chase file links before they expired, rebuild per-channel membership lists, reconcile message counts, stand up a Postgres database, configure Nginx with the right WebSocket upgrade block, and get SMTP working well enough that password-reset emails would actually land in people’s inboxes. Then keep all of that running, every week, forever.
What changed is that coding agents got good enough to do the whole project themselves. Claude Code and Codex can run every one of those steps in the background while you drink your coffee. You don’t write bash scripts or SSH into servers. You read a handful of short reports, click Approve on twenty or thirty permission prompts spread out over a week, and paste a short English sentence whenever the agent is ready to move on to the next stage.
The actual migration isn’t a fragile custom script. It’s a pair of agent skills (one for extraction, one for setup and import), each of which is a directory of prompts, references, and scripts that the agent loads into its context and then drives on your behalf. Those two skills, plus a third that handles the ongoing maintenance, are what the rest of this piece walks through: how they decompose the problem, how the agent actually drives them, and every operational detail you’ll want in front of you on cutover day.
The thing that actually got me interested in writing this up, by the way, isn’t Slack specifically. It’s the broader shape of problems like Slack: expensive enterprise software whose moat is mostly the difficulty of migrating off. Jira is one of these. Splunk is one of these. The pattern is always the same: your vendor quietly raises the price every year, you shop around, you find something plausible and open-source, you sit down and think about how much of a project it would actually be to move your data over, and you just stay and pay. Two well-designed agent skills break that pattern. The rest of this article is the Slack case in full operational detail; the pattern itself generalizes to other corners of enterprise software, and I’ll come back to it at the end.